


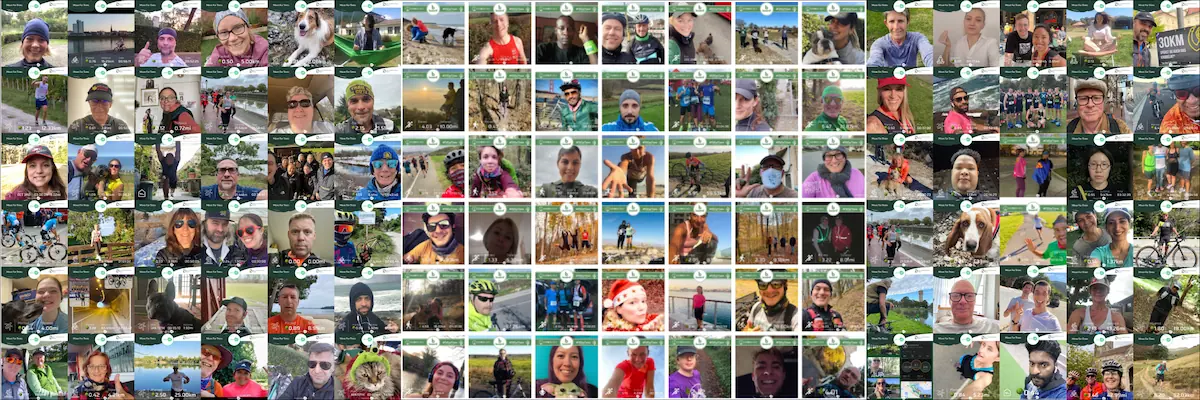
teroGO’s new Peer-to-Peer fundraising feature for our virtual races now includes individual fundraising pages & team customizable pages. Our global non-profit partners have been able to increase donations thanks to this feature, especially since users can tell their fundraising stories.
Peer-to-Peer fundraising
Peer-to-Peer fundraising is more than asking your friends and family for donations towards a non-profit organization. It’s about you telling your own story, explaining to others what makes this cause so important to you, how you heard about them, why you connected with them, their impact in this world, and how their donation would increase that impact.

How to get started with your fundraising page
After you sign up for an teroGO virtual race of your choice, you will have two option to access your fundraising page:
1. Click on “My Personal Fundraising Page” from the Fundraising section on the challenge’s dashboard
2. Click on your name from the Fundraising Leaderboard
You will be able to choose your fundraising goal in the signup process.

Your own fundraising page
Start by changing the information at the top of your page. We have created a few default questions to get you started but remember this is YOUR page, so feel free to edit it as much as you want! The better you tell your story, the higher possibilities you have to increase donations.
1. Tell us WHO you are
2. WHY are you fundraising
* Make sure you are signed in, or you won’t be able to edit your page. Use the same credential you used to create your account at the time of registration.

How to edit your information
To edit the default content, it’s straightforward. Just click on the text you want to edit, and the text bar will show on your screen.
You will have the option to enter your text in your preferred language and even add several languages if your network is located in different parts of the world.
* Remember to always click “SAVE CHANGES” on the bottom left corner after any changes you make.

Add new components
To personalize your fundraising page even more, you have the capability to add images, videos, text, links & dividers.
How to add a new component?
1. Click on the plus sign
2. Select the component you want to add by clicking on it, so it gets added at the end or clicking and dragging it to add it somewhere else on your page
3. You can also click on the pink plus sign on the right of your screen

How to edit a component
Using every component is very easy. Depending on the one you select, you will have different elements, but they are very self-explanatory.
Let’s use the image component as an example:
1. You can add a photo by clicking on the blue square with the arrow inside the cloud to add a photo from your computer, or you can click on “I have a URL” to add the URL of a photo
2. If you added a component by mistake, just click on the little trash can icon at the bottom of your screen
* Remember to click on “SAVE CHANGES” after adding your photo.

Other components
1. Video: you can also add a video to your fundraising page. You will need a YouTube or Vimeo link. You cannot add a video from your computer or from a different platform than the ones mentioned above.
2. Button: add a button with a link to send people to a specific place. You can add the non-profit organization’s website for people to read more about them or even the link of the virtual race dashboard for them to register as well. Make sure to include a text to your button component in your preferred language.
3. Background: add an image or change the color or a specific component. If you decide to go with the color option, you will then be able to add another component over it (text, video, image, or button)

Sidebar elements
1. Undo or redo your last step
2. Edit things
3. Add things
4. Move things
5. Resize things
6. Preview results

Edit your fundraising goal
You can also edit your fundraising goal from your fundraising page by clicking on “Edit” and selecting a new goal from the pop-up screen. Remember to click on “SAVE” after making any changes. This option was added to increase your initial goal once you reach it.

Having trouble with your fundraising page
If you encounter any trouble while creating or editing your fundraising page, please reach out to our support team at support@terogo.org, and they will be happy to assist you!


This website stores cookies on your computer. These cookies are used to collect information about how you interact with our website and allows us to remember you. We use this information in order to improve and customize your browsing experience and for analytics and metrics about our visitors both on this website and other media. To find out more about the cookies we use, please see our Privacy Policy.


Get a 15 minute live demo
Get your corporate challenge or employee wellbeing program live and empower your team’s wellness journey.